Pre-Ride Inspection
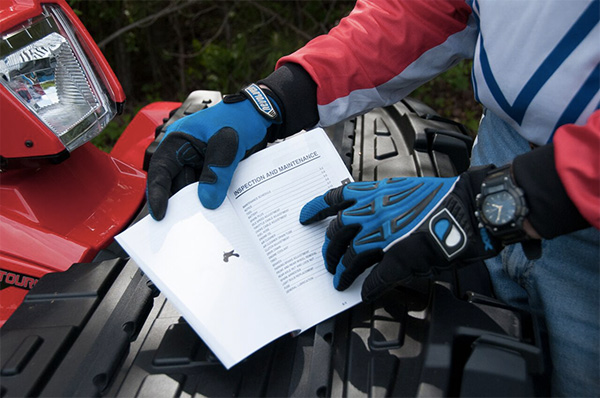
An inspection of your ATV before each ride is essential because the off-highway environment can be harsh on vehicles. An inspection can minimize the chance of being injured or stranded, ensures long-term enjoyment of your ATV, and should only take five to 10 minutes depending on your ATV. Your owner’s manual will show you what equipment to check on your particular machine, and ASI offers this basic T-CLOC checklist as well. T-CLOC stands for Tires and Wheels, Controls and Cables, Lights and Electrics, Oil and Fuel, Chain/Driveshaft and Chassis.


- Air pressure – Always maintain the recommended tire pressure. Incorrect pressure can cause poor handling and tire or wheel damage. To measure pressure (usually 2 to 10 psi), you’ll need a low-pressure gauge; automotive tire gauges are not accurate for use on ATVs.
- Condition – Check for cuts or gouges that could cause air leakage.
- To avoid loss of control or injury, make sure axle nuts are tight and secured by cotter pins, and make sure wheel nuts are torqued properly.

- Controls – Ensure all controls work smoothly.
- Throttle and other cables – Ensure the throttle moves smoothly and snaps closed with the handlebars in any position. Ensure the throttle limiter (if equipped) is adjusted appropriately for the rider.
- Brakes – Ensure the controls operate smoothly and are adjusted (engagement point and position of controls) according to the owner’s manual. Your brakes are a crucial safety feature and must always be in excellent working condition.
- Foot shifter – Ensure it is firmly attached and positioned for safe operation.

- Ignition switch – Check the condition of the switch and make sure it works properly by switching it off and on during your warm-up period.
- Engine stop switch – Ensure it turns off the engine.
- Headlight and taillight (if equipped) – Check operation and condition of the lights. You could be caught out after dark.

- Do not get stranded because you are out of oil or fuel. Know your ATV’s cruising range. Start your ride with a full tank of gas.
- Check oil level with a dipstick or sight glass while the engine is off. Check your owner’s manual for procedure.
- Check for fuel or oil leaks.
- Take off the air filter cover and check the condition of the filter element. Be sure it is clean and not torn or blocked.

- Chain – Inspect, adjust and lubricate the chain regularly. Your chain is the vital link from the engine to the wheels. Ensure chain slack is within specifications as described in your owner’s manual.
- Drive shaft – If your ATV is equipped with a drive shaft rather than a drive chain, check for oil leaks. Maintain its oil supply as outlined in your owner’s manual.
- Nuts & bolts – Riding in rough terrain will loosen parts. Look and feel for loose parts while the engine is off. Shake handlebars, footrests, etc., before each ride and periodically check fasteners.
We also recommend that you carry an appropriate first aid kit and tool kit in case you encounter any problems. Examine the tool kit that came with your machine. You may want to add a few spare items – a spark plug, perhaps some electrical wire and tape, a strong tow rope, a flashlight, and maybe a headlight bulb. Prepare for the unexpected, and carry what you need to handle any emergency. Remember, you can ride farther in an hour than you can walk in a day.
